This document describes how to integrate Quarkus with Keycloak using OIDC protocol. It includes all required files and steps leading to working implementation.
Starting local Keycloak
  keycloak:
    image: keycloak/keycloak:latest
    ports:
      - "10000:8000" # Port 8000 locally is already taken on my machine
      - "8443:8443"
      - "8080:8080"
    command:
      - start-dev
    environment:
      KEYCLOAK_ADMIN: admin
      KEYCLOAK_ADMIN_PASSWORD: admin
Save this file as docker-compose.yaml and start it using docker-compose up -d command.
Include Maven dependencies
Add the following dependencies to pom.xml file:
<dependency>
    <groupId>io.quarkus</groupId>
    <artifactId>quarkus-oidc</artifactId>
</dependency>
<dependency>
    <groupId>io.quarkus</groupId>
    <artifactId>quarkus-keycloak-authorization</artifactId>
</dependency>
Configure Application
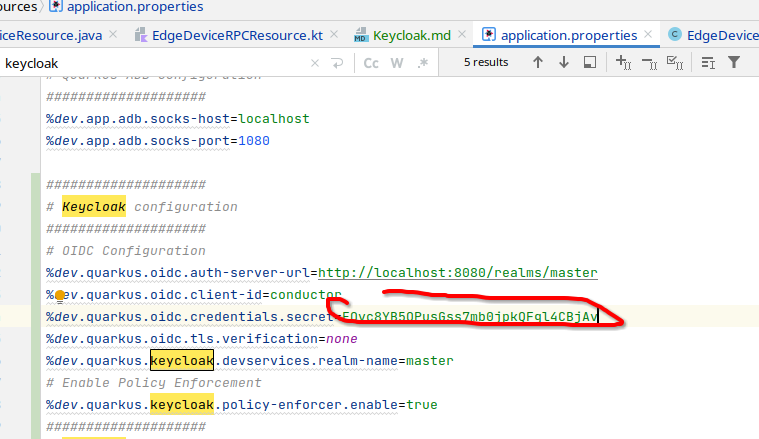
Add the following lines to local application.properties:
%dev.quarkus.oidc.auth-server-url=http://localhost:8080/realms/master
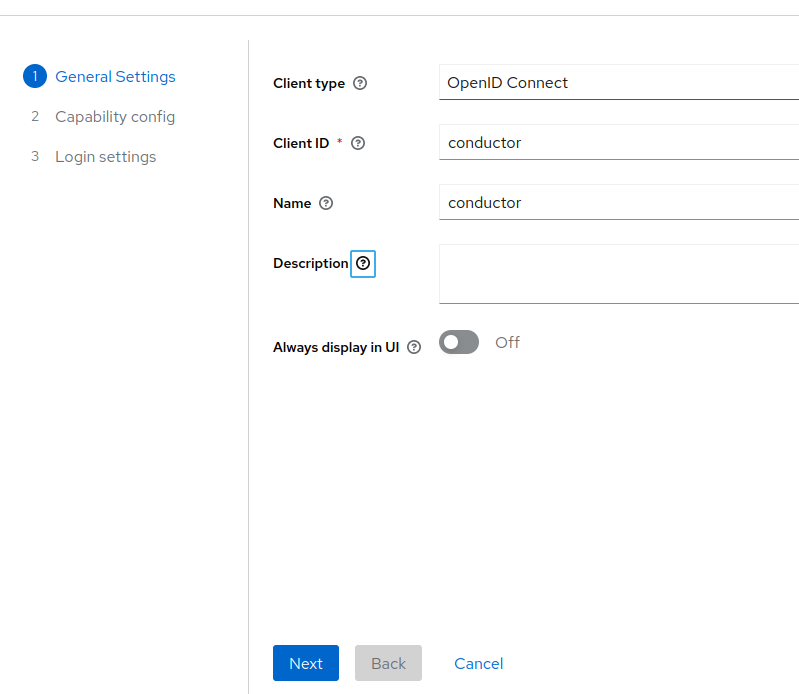
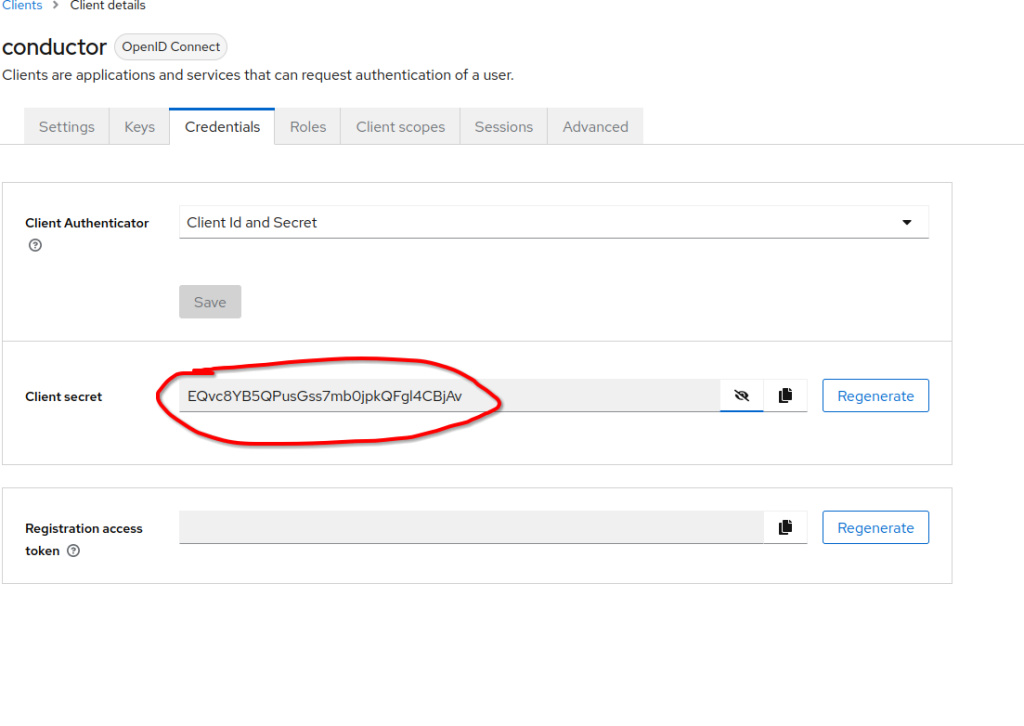
%dev.quarkus.oidc.client-id=conductor
%dev.quarkus.oidc.credentials.secret=EQvc8YB5QPusGss7mb0jpkQFgl4CBjAv
%dev.quarkus.oidc.tls.verification=none
%dev.quarkus.keycloak.devservices.realm-name=master
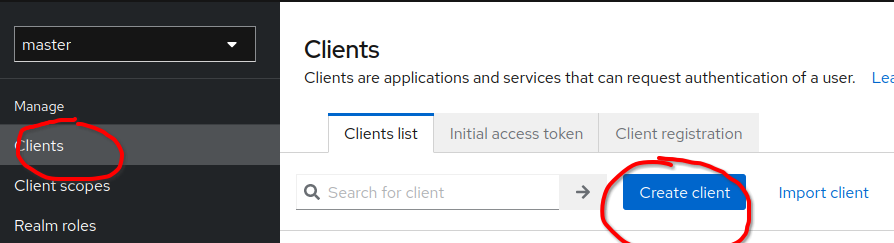
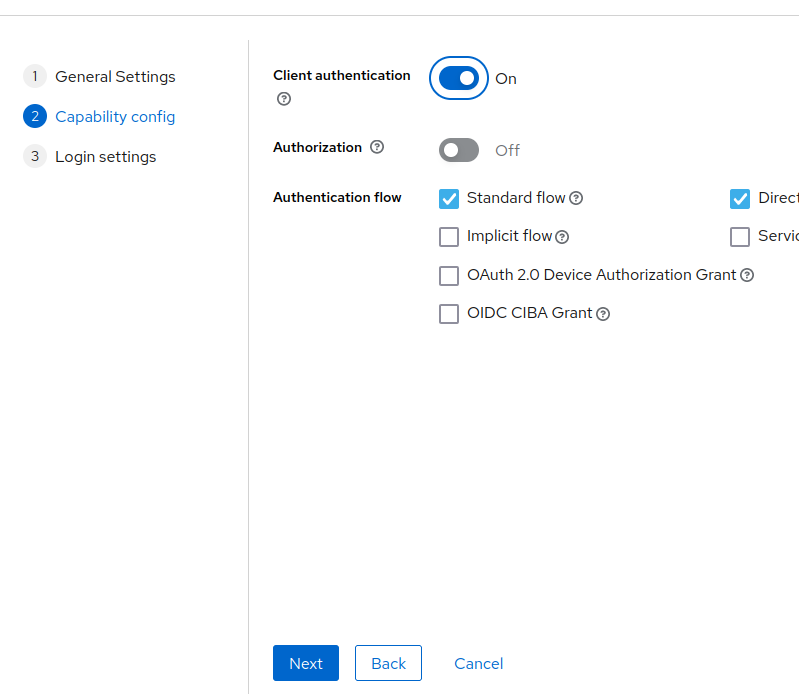
Configure Keycloak
Finally, add a custom user using the following link:
http://localhost:8080/admin/master/console/#/master/user
Also, ensure that created user has appropriate role as used in the code.

Testing authentication
Quarkus comes with a devtool for testing authentication and invocation of protected resources. It can be reached using the following URL:
http://localhost:13300/q/dev-v1/io.quarkus.quarkus-oidc/provider
http://localhost:8080/admin/master/console/#/master/user